
The Irrigation workflow allows you to capture, view, and update the location and attributes of irrigation locations so that they can be viewed on maps and navigated to.
Navigating the Irrigation workflow:
Open the side menu and select "Irrigation" from the list of available workflows
From here you can click in to view individual irrigation feature locations.
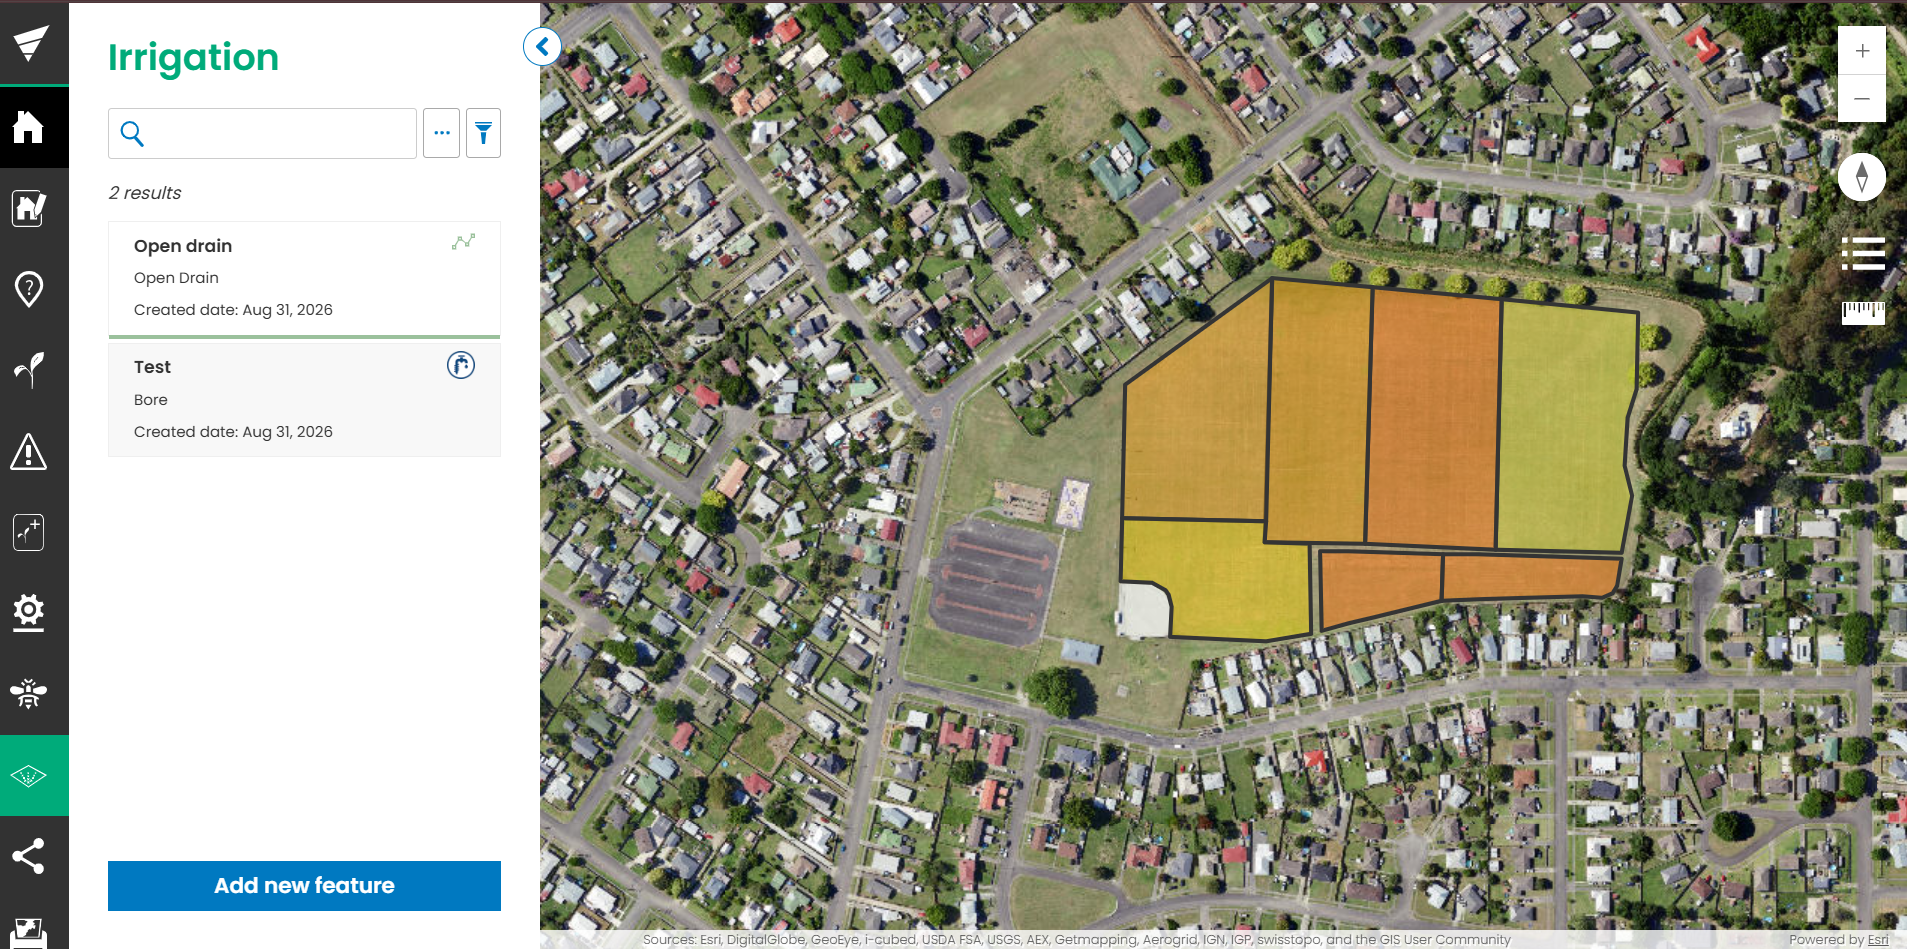
You will also have access to a number of tools:
-
Search bar and Filter: Here you can search for a feature or add a filter to remove specific categories.
-
Feature list: This this the list of features on the map. It is currently displaying 4 beehive features, each with a label of ‘8 hives’. You can click on a feature to view more information on it.
-
Add feature: Click this button to add a new beehive feature to the map.
Add a new feature:
-
Click on the "Add new feature" button located at the bottom of the feature list.
-
The ‘Add feature’ sidebar will appear. Follow the instructions to add a new feature:
-
Select the type of feature you wish to add
-
Click the map to add the feature at that location
-
Click ‘Add details’ to save. Or:
-
Click ‘Reset sketch’ to remove the point
-
Click ‘Add another item’ to add another point
-
Click ‘Cancel’ to go back
-
-
-
Click ‘Save feature’
Edit Existing Feature
-
Click on the feature in the list.
-
Click on the three dots in the top right of the details pane to access the context menu:
-
Click ‘Edit’
-
Add attachments or change the label on the hive. You can also move the location of the feature by dragging the point on the map.
-
Click ‘Save’ save your changes and return to the feature list.
If you can’t see the ‘Edit’ option on your workflow panel, this means you do not have permission to edit irrigation features. If you think this is incorrect, please contact your administrator, or email help@landkind.com