
NZAPI - Production Sites
The Production Sites within Landkind are populated from NZAPI’s registration database. If you want to add a production site to Landkind, or to remove one, they must be added or removed in the registration database. These changes will be applied to Landkind nightly.
This video shows the basics of adding, editing and removing Production Sites in Landkind. Scroll down further for step-by-step instructions. For further assistance, please contact us at help@landkind.com
Add a Production Site
Select the Production Sites workflow from the sidebar.
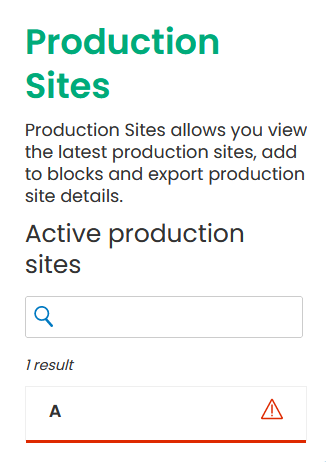
Click on the name of the production site you’d like to add. The red bottom border and red exclamation mark indicates that the production site has not been drawn yet.
Select either Shape or Rectangle. Use the shape tool for creating free form shapes and use the rectangle tool for creating squares and rectangles.
Click points on the map to create the shape of the Production Site. Double-click to finish drawing.
To redo the drawn shape, click Reset sketch.
To add a second part to the area, click Add another item and draw in the additional area. Double-click to finish drawing.
To adjust the drawn area, click on the area that was drawn. You can move the vertices (points) to adjust the block. The new area will be displayed with each adjustment.
Select Save to adopt the changes or Back to cancel.
Edit a Production Site
Click on the name of the production site you’d like to edit.
Once opened, click on the ellipsis (three dots).
Click Edit.
You can now either:
Adjust the drawn area. You can move the vertices (points) to adjust the shape. Click Reset sketch to undo these changes.
Redraw the area. Click Redraw area then either Shape or Rectangle.
Select Save to adopt the changes or Cancel to cancel.
Remove a Production Site
Click on the name of the production site you’d like to remove.
Once opened, click on the ellipsis (three dots).
Click Remove drawn area.
Confirm this in the modal by clicking Remove drawn area.