NZAPI - Blocks
This video shows the basics of adding, editing and removing Blocks in Landkind. Scroll down further for step-by-step instructions. For further assistance, please contact us at help@landkind.com
Add a Block
Select the Blocks workflow from the sidebar.
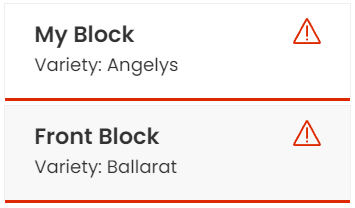
Select the block you’d like to add - this list is populated from NZAPI’s registration database.
A red border and a red exclamation mark indicates that the block has not been drawn yet.

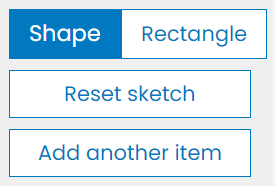
On the sidebar, select either Shape or Rectangle.
Click points on the map to create the shape of the block. Double-click to finish drawing.
To adjust the drawn area, click on the area that was drawn. You can move the vertices (points) to adjust the block. The new area will be displayed with each adjustment.
If your block is made up of more than one area, after you have drawn the first part, click Add another item. This will allow you to add another part to the blocks shape.

Select Save to adopt the changes or Back to cancel.
If you cannot save a block, you do not have permissions to add a block and should talk to your administrator.
Edit a Block
Click on the name of the block you’d like to edit.
Once opened, click on the ellipsis (three dots).
Click Edit.
You can now either:
Adjust the drawn area. You can move the vertices (points) to adjust the shape. Click Reset sketch to undo these changes.
Redraw the area. Click Redraw area then either Shape or Rectangle.
Select Save to adopt the changes or Cancel to cancel.
Remove a Block
Click on the name of the block you’d like to remove.
Once opened, click on the ellipsis (three dots).
Click Remove drawn area.
Confirm this in the modal by clicking Remove drawn area.
